
New to rolling? It’s a classic skill you can learn with a little bit of time and effort (and the right tools and techniques). Master these five core steps, and your joints will burn evenly and taste great.
What Do You Need To Roll A Joint?
Pick up a few supplies to get started:
- Grinder: Will turn quality flower into even, fluffy pieces.
- Rolling tray: Keeps your herbs, filters, and rolling papers organized.
- Papers: Choose from rice, hemp, or wood pulp based on your preferred burn rate.
- Filter/crutch: Adds to the mouthfeel and stops bits from pulling through.
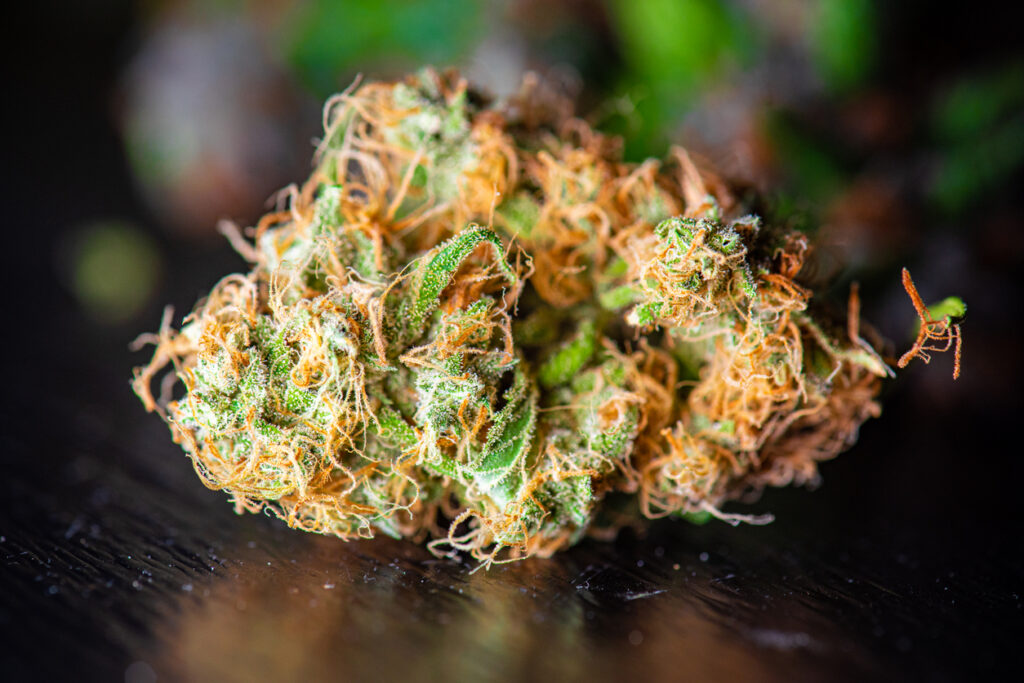
- Flower: Choose a strain that matches the vibe you want to achieve.
Step-by-Step: How to Roll a Smooth, Even Joint
Before you start, make sure you are working with a quality flower and have clean, dry hands.
Step 1: Grind
Break down the flower in the grinder until it’s fluffy and airy. If it’s too fine, it will burn too hot. If it’s too chunky, you’ll get an uneven burn. Clear out any of the stems before you move on to the next step.
Step 2: Add the Filter
Fold a few accordion creases into a crutch and then roll it into a cylinder. You could also use a pre-made filter tip. Place it at one end of the paper. The filter will determine your joint’s diameter while improving airflow and preventing flower bits from passing through the opening.
Step 3: Fill the Paper
Crease the paper into a trough. Sprinkle an even line of flower from the filter towards the open end. If you want to make a cone joint, add slightly more toward the tip so it tapers out. The amount of flower you add will determine the size of your joint (start small for your first roll; it will be easier to handle).
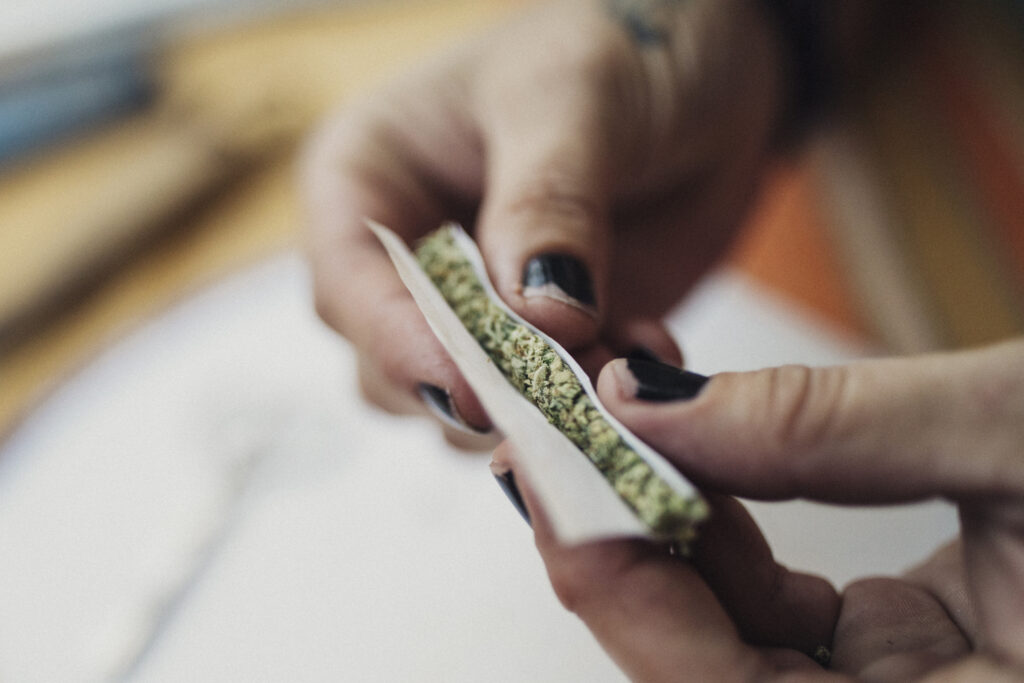
Step 4: Roll and Seal
This is the part that takes a little practice. Pinch the paper between thumbs and forefingers, rolling it back and forth to form a cylinder. Tuck the non-gummed side around the herb, wrap up to the gum line, then lick and seal. Work from the filter outward to achieve a tight base and a straight body.
Step 5: Pack and Finish
Tap the filter end on the tray, then gently pack the tip with a pen or tamper for even density. Twist the tip closed, and you are done!
Wondering how to light a joint without canoeing? You can light a joint like a pro by toasting the twisted end first and then rotating it until you have an even glowing ring. Take a couple of short puffs while turning the joint to start an even burn. If it starts to burn unevenly, moisten the side that’s burning too quickly or rotate the slow-burning side downward.
Joint Sizes and Styles Explained
How much weed is in a joint? It depends on your preferences. The most common sizes and amounts are:
- Pinner joints: Skinny and great for solo sessions, these usually have around 0.25 g. They have a pencil-like shape that makes the weed burn slowly.
- Standard joints: An everyday size and what you’ll get in most pre-rolls. Around .5 g.
- King-size joints: Great for passing around a party or taking with the crew on a long walk. Holds around .75-1 g.
- Cross joint: Features a smaller joint intersecting perpendicularly through a larger one, creating a T-shape that allows three burning ends to be used simultaneously.
- Cone joint: The cone joint tapers from a wider open end down to a narrower filter, making it one of the most popular and forgiving shapes for beginners.
Visit Qube NYC for Rolling Supplies and Ready-to-Burn Pre-Rolls
Swing by Qube at 1412 Broadway for everything you need, including rolling papers, grinders, and more to keep your kit tidy. Our team can guide you through paper sizes and techniques to help you build a kit that allows you to roll perfectly crafted joints.
Prefer something pre-made? We have an excellent selection of pre-rolls ready to burn.